See that up there? That’d be a quilt up there. Check that off the thirty before thirty list!
Actually, while we’re at it, let’s go ahead and double check it off. Because if you’re making one quilt, why not make two?

Even though I haven’t been that active on the blog for the past few months that doesn’t mean I’m not making stuff. In between studying for tests I managed to begin honing my quilting skills. And, I have to say, these won’t be the last quilts I make. I actually had a really fun time making them.
I used this basic baby quilt tutorial for both of the quilts, and finished them off with Rae’s cheater binding method.

I definitely mastered the corners by the eighth one :).

If you’ve been thinking about making a quilt but didn’t know where to start, I highly suggest starting with a strip quilt. It’s all straight lines so it’s easy to put together but also easily customizable because you can use any combination of widths and fabrics that you want.
My few words of wisdom I gained while making these:
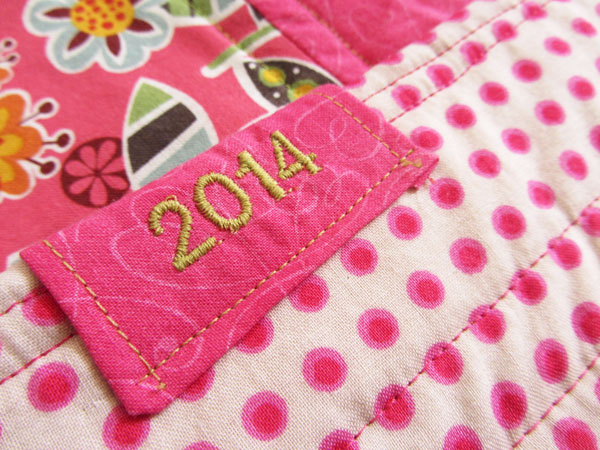
1. Be SO CAREFUL when cutting off the extra batting before you do the binding. It’s really easy to accidentally snip the back fabric and then you have a hole in your binding. If that does happen to you, might I suggest making a nice timestamp detail like I did when I made a sizable hole in my binding….
On the bright side, I got to learn how to use the embroidery functions on my machine.
2. I think I had better results when sewing as close to the strips as possible when quilting. Scroll back up to the first two pictures and you’ll see what I mean.
3. The instructions I linked to say to continuously sew around the seam by pivoting and turning the needle. This was nice and easy while quilting, and looked great on the front. But after I was all done with the binding, this was my final result on the back :

Not good, right? I ended up taking a seam ripper to all of those stitches past the binding line of stitches, which ended up looking good, but was a step I would rather avoid. My advice: knot at the beginning and end of each line of stitching and avoid sewing across to the other side.
And that’s about all the advice I can muster up after making 2 quilts. I don’t have any more quilting projects in the works, but check out my Pinterest Board with some more cool quilt ideas. Have any more to add?
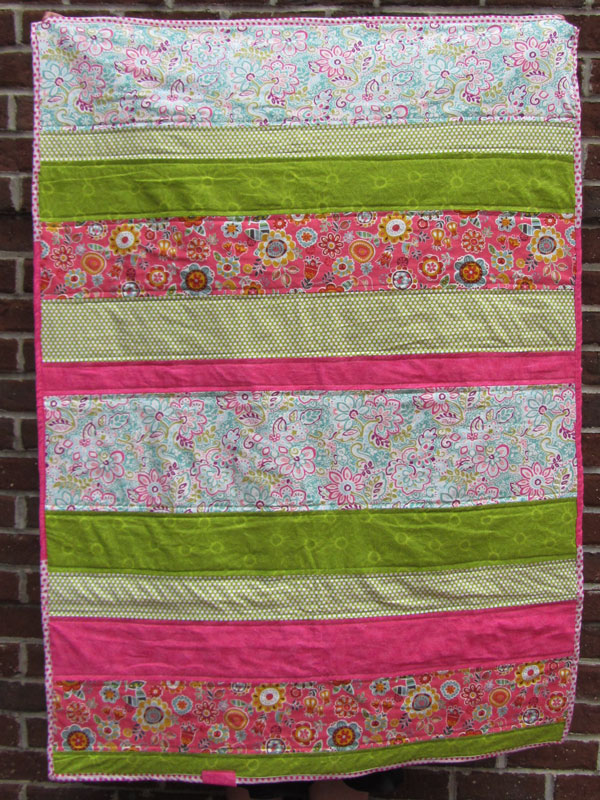
Here’s some full shots of the two quilts.


And there you have it. My first adventure into quilting.
Happy Wednesday!


4 Comments
Beautiful! 🙂
Wow, Steph! That’s gorgeous! I have a total quilt fetish. My grandmother used to make the grandkids clothes… out of 100% polyester. (This was in the early 70s.) Years later, she took all of our clothes (each kid got their own) and made us quilts out of them. OK, it’s embarassing to admit that I even WORE some of those patterns, but it’s an awesome keepsake. So many stories in that quilt. Love your first one!
Thank you Lisa! My Grandma made my sister and me quilts out of clothes my mom made us, too! The quilts have squares with our baby clothes up to prom dresses. It is a wonderful keepsake and something that will be fun to share with future kids/grandkids.
LOL! Aw, Steph, you might regret that! My 17yo laughs at the quilt at every opportunity! But I do love the idea of a doing one from your entire childhood. How cool!